ANGELS WATCH

SUPPLIES NEEDED:
Tube of Choice – I’m using a pretty tube from Suzanne Woolcott. You can purchase the tube from her website Gorjuss Art
You’re also welcome to use any other tube of your choice.
Fabulous scrap kit called 'Angels Watching Over Us' from Mar's website HERE
Mask of choice or you can download mine: HERE
[Mask from Weescotlass]
Doodles of choice.
Font of choice - I'm using 'Cuisine'.
1. New transparent layer – 700x500 – Floodfill white – merge flatten to form background.
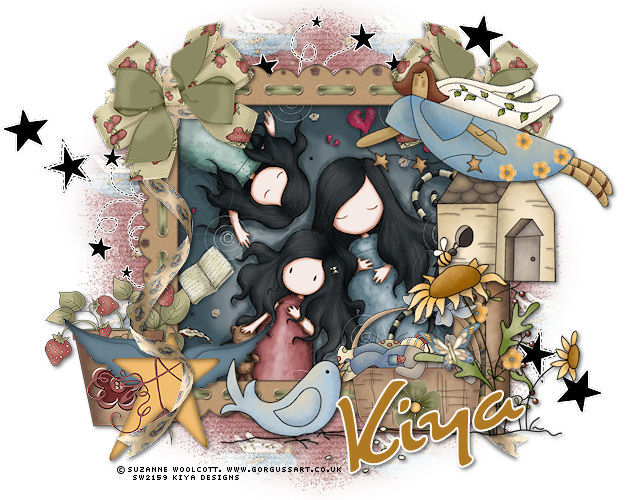
2. From scrapkit, open up frame #23 (SMar23) – paste as new layer on image. Resize – 50%.
3. Magic Wand – click inside frame – selections, modify, expand by 3.
4. Choose your tube – the one used for the top example came with an image option (that is, it had a background), if your tube doesn’t come with a background, you’re welcome to use an image of your choice to fill the square.
5. Paste as new layer on image, selections, invert, delete. Move tube layer beneath frame. Add drop shadow to frame – 2, 2, 50, 5. Merge frame and tube layers together.
6. Open (SMar41), copy and paste as new layer on your image, resize by 50% – move to right side of frame. Dropshadow. Open (SMar36). Resize by 20% and move to right side of frame – move below bird/flower layer. Dropshadow. Open (SMar1), paste as new layer, resize by 25% - move to left side of frame and to the top (see my tag for reference) – sharpen, image, free rotate – left – 20 degrees – sharpen again and position properly.
7. Open (SMar8), copy and paste as new layer, move this below bow layer – resize by 20% - sharpen. Merge bow and ribbon layer (merge down) – add light dropshadow of choice – duplicate and mirror. Move mirrored image below the bird/flower and bird nest tubes.
8. Open (SMar42), paste as new layer, resize by 40% - move to right side of tag, image, free rotate, 20 degrees – right – sharpen and add light dropshadow.
9. For the rest, you can simply continue to add other elements from the kit and arrange them as deem fit around your tag – or you can look at mine for reference – as I always say, have fun with them!
10. For the background, I chose (from the Papers folder) (SMar10) – copy and paste as new layer right above the white bkg of your tag. Apply your mask of choice – or use mine provided – delete and ungroup layers.
11. Next copy and paste doodles as new layers above the masked layer – arrange how you like as long as it’s visible.
12. Add your name – I used Cuisine – size 90 – vector – Stroke Width 2.0 – foreground on white – background, a light color from your tag. Rotate, convert to raster and add light dropshadow.
13. Add copyright/license info. Crop if needed and you’re all set!
14. Hope you liked the tutorial and please feel free to email me with your results or any questions you might have.
Email to: kiyasama@yahoo.com
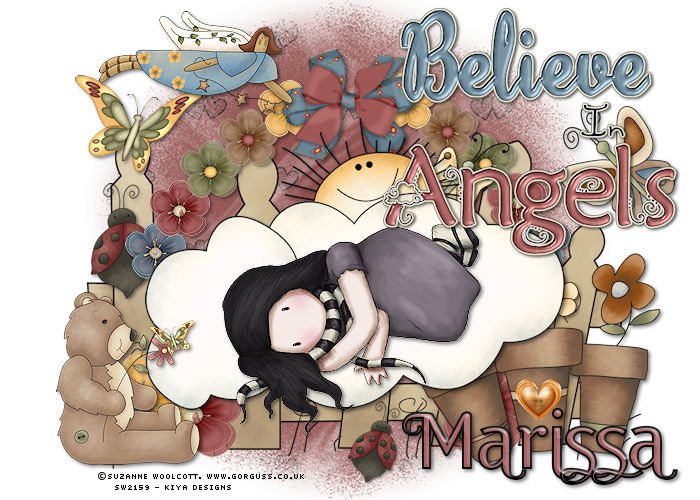
Below is another tag using the same kit.

Please no hotlinking the images! Neither can you use the tags created for your personal use or on blogs or websites without written permission. Tutorial has been registered under TW1.
© KiyaSama - all rights preserved. Tutorial Written 21st March, 2009.
Tutorials Home
|
|