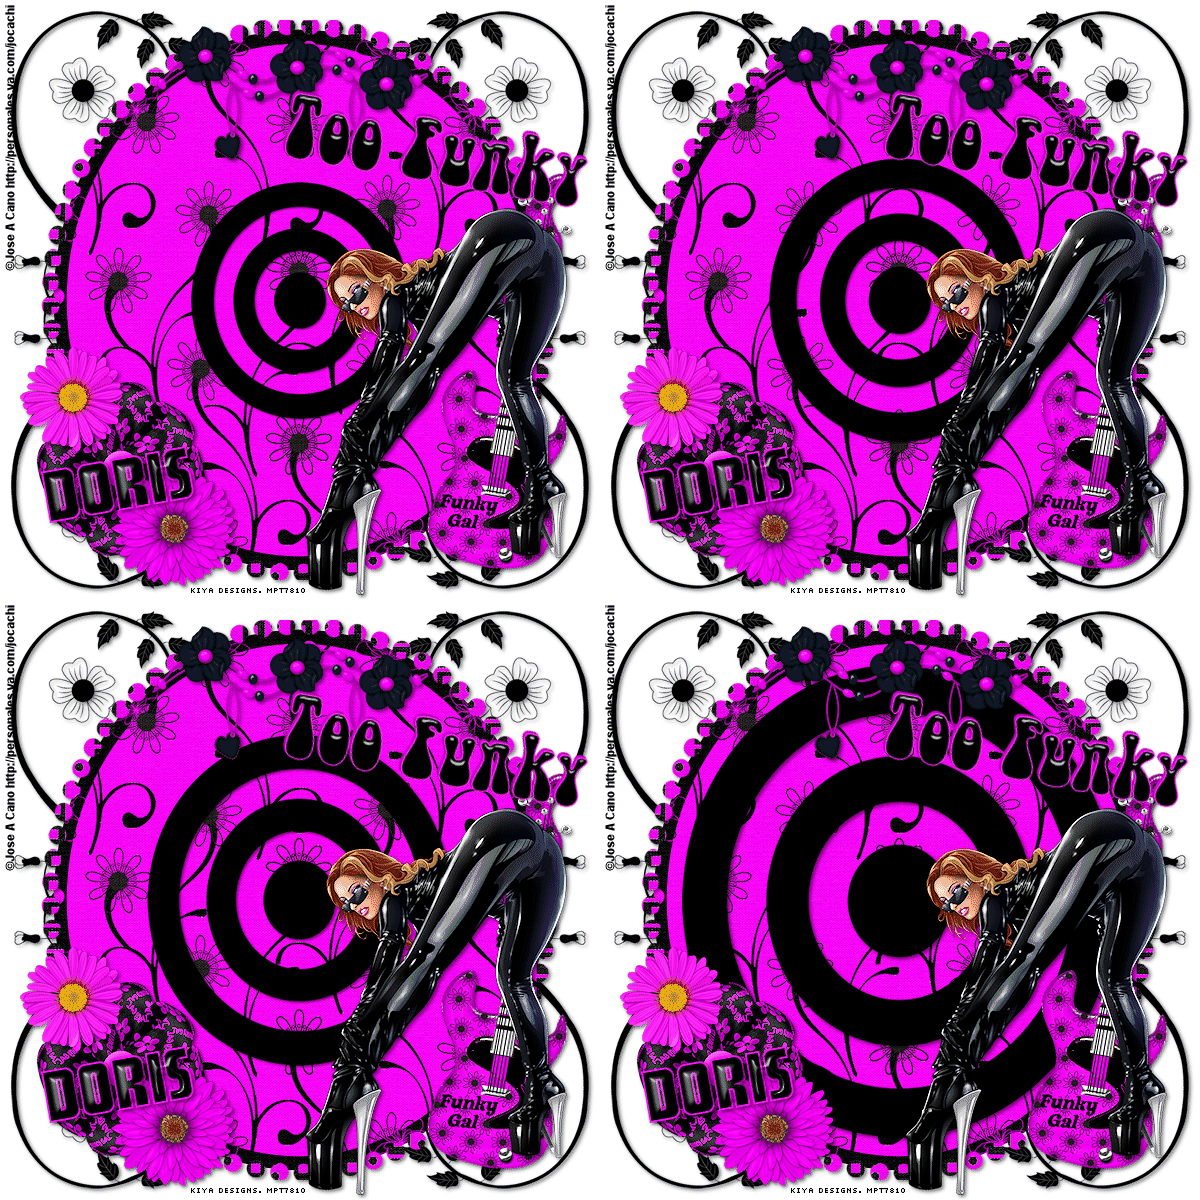
TOO FUNKY

SUPPLIES NEEDED:
Tube of choice – I’m using one from Joe Cano. You must have an CANO license to use it. You’re also welcome to use a tube of your choice.
Pretty FTU scrap kit called ‘Funky Gal’ from Doris. You can download the kit at her blog HERE
Tempate #14 – Also created by Doris which you can download from her blog as well – you might have to scroll down a bit to see it.
Font of Choice
Animation Shop 3
1. Open up template #14. Delete top 4 layers and then click on gray bkg layer. Floodfill with white and close out, so we can see the other layers we’re going to work with.
2. Click on SD Circle 2. Selections, float, defloat. Choose Paper 5 from kit and paste as new layer on template. Resize by 70%. Selections, invert, delete. De-select and then delete the original SD Circle 2 Layer.
3. Click on SD Circle 1. Selections, float, defloat. Choose Paper 4 from kit – repeat same process above. Remember to delete original white circle layer.
4. Click on SD Circle Dots. Same process above. Once done, add light drop shadow.
5. Now on your SD Bullseye, add light drop shadow and duplicate 3 times for a total of 4 layers. Close out top three layers. On original, resize to 50%. Close out this layer, go to the next (Copy 1), resize by 60%. Next layer, resize by 70%. We’ll leave the topmost layer as is.
6. Choose Doodle 2. Copy and paste as new layer on white bkg. Resize by 70%. Move to topmost right side of tag. Duplicate, mirror, and merge down. Duplicate again, flip. Merge down and apply light drop shadow.
7. Copy and paste your tube of choice – resize if needed and move to right side of tag.
8. Now play around with the elements and add whatever you’d like to make it all pretty – you’re also welcome to use my tag for reference.
9. Once satisfied with elements placement. Add your name – I used a light color from the tag for foreground and black for background, stroke width 2.0, vector. Bevel (optional), rotate and position on tag. Add copyright/license info.
10. All done? Great! Now it’s time to animate. Close out top three layers of the bullseye layer, copy merged and paste as new animation in AS.
11. Back to PSP, close out original, move to next layer, copy merged and paste after current frame in AS.
12. Repeat this process for the next two layers. When done, you should have four frames in AS.
13. Edit, select all, frame properties set to 30, view animation and you’re all set! ^_^
Please no hotlinking the images! Neither can you use the tags created for your personal use or on blogs or websites without written permission. This tutorial is registered with TWI.
© KiyaSama - all rights preserved. Tutorial Written 4th April, 2009.
Tutorials Home
|
|